
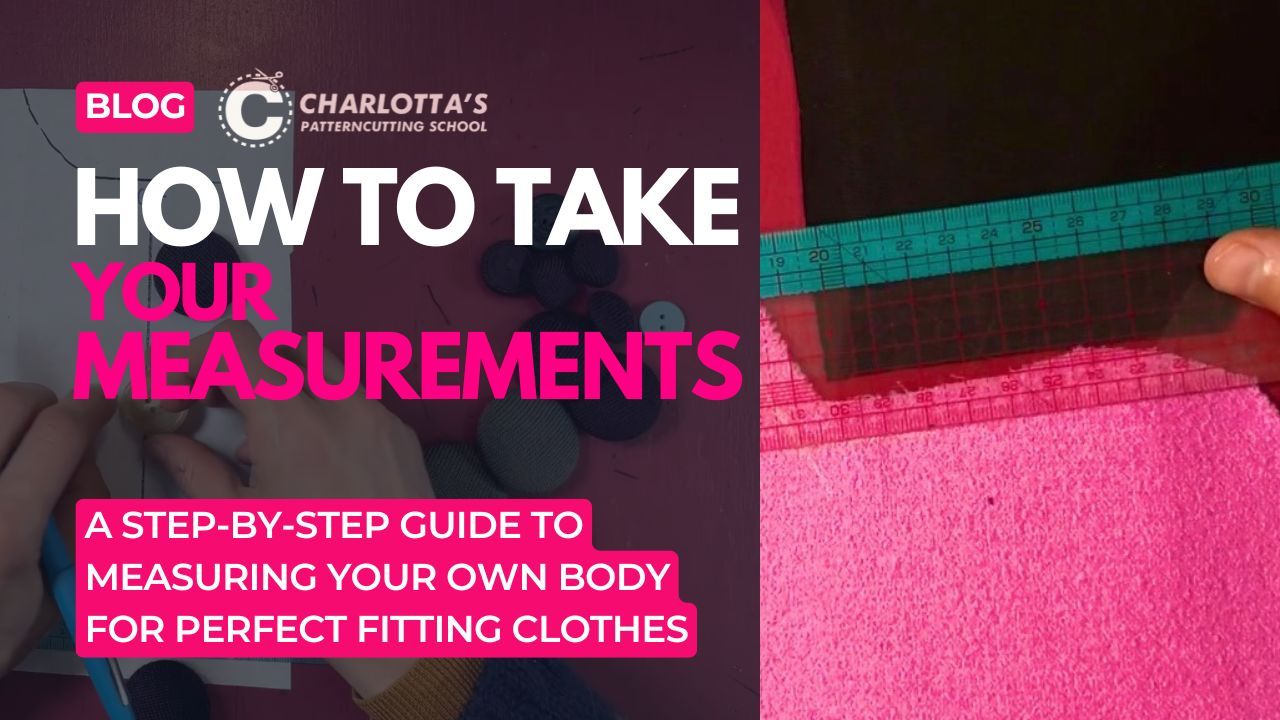
How To Take Your Measurements: For Perfect Fitting Clothes
May 30, 2025When I first started pattern cutting, I quickly learned that knowing how to take your measurements is the foundation of creating clothes that actually fit. I remember struggling with a skirt pattern that turned out way too tight because I’d guessed my measurements instead of measuring properly—lesson learned!
Whether you’re new to sewing or looking to refine your skills, taking accurate measurements is essential for successful pattern cutting. In this guide, I’ll share the steps that helped me get it right, along with tips to make the process stress-free. Let’s get you ready to create garments that fit like a dream.
Why Accurate Measurements Matter in Pattern Cutting
Taking precise measurements ensures your patterns translate into garments that fit your body comfortably.
Accurate measurements will save you a ton of time, fabric, and frustration. They’re especially crucial for flat pattern cutting, where you’re drafting templates based on your unique shape.
Plus, knowing your numbers gives you confidence to tackle more complex projects as you grow.
Tools You’ll Need for Taking Measurements
You'll need the basics:
- Tape Measure: A soft, flexible one is best—mine’s 60 inches long and has both inches and centimeters.
- Mirror: A full-length mirror helps you see if the tape is positioned correctly.
- Notebook and Pen: Write down your measurements so you don’t forget them.
- A Friend (Optional): I found it easier to have someone help with tricky spots like my back width, but you can manage solo with a mirror.
- Snug Clothing: Wear something form-fitting, like leggings and a tank top, so your measurements aren’t distorted by bulky layers.
These basics will set you up for success without breaking the bank.
Short-tail SEO keywords: measurement tools for sewing, beginner pattern cutting tools, how to measure for patterns, sewing essentials
Step-by-Step Guide: How To Take Your Measurements
Here’s the process I follow every time I start a new project. It’s straightforward, but taking your time with each step makes all the difference.
Step 1: Prepare Your Space and Mindset
Find a quiet spot where you can stand comfortably—I like to do this in my pattern cutting studio, but you can do this anywhere in the house. Stand up straight but relaxed; don’t suck in your stomach or puff out your chest, as that’ll skew your numbers.
I always take a deep breath to calm my nerves—it’s just you and the tape measure, no pressure!
Step 2: Measure Your Bust
Wrap the tape measure around the fullest part of your chest, usually at nipple level. Keep the tape snug but not tight, and make sure it’s parallel to the floor. I use a mirror to double-check this. Write down the number in inches or centimeters, depending on your pattern’s units.
Step 3: Measure Your Waist
Your natural waist is typically the narrowest part of your torso, often just above your belly button. I made the mistake of measuring too low at first, so feel around to find that smallest point. Again, keep the tape level and snug, and record the measurement.
Step 4: Measure Your Hips
For your hips, measure around the fullest part—this is usually 7-9 inches below your waist, depending on your body shape. I have to remind myself not to pull the tape too tight here; you want your garment to have a bit of ease for movement. Note this number down carefully.
Step 5: Take Additional Measurements
Depending on your project, you might need more measurements. For a top, I measure my shoulder width (from shoulder tip to shoulder tip) and arm length (from shoulder to wrist). For trousers, I measure my inseam (from crotch to ankle) and thigh circumference.
I also like to measure my back width for fitted garments—it’s the distance across your upper back, from armpit to armpit.
Step 6: Double-Check and Record
I always measure each area twice to make sure I’ve got it right. If the numbers differ, take a third measurement and go with the one that matches most closely. Write everything down in your notebook, labeling each measurement clearly—like “bust: 36 inches”—so you can refer to them easily when drafting your pattern.
Tips for Taking Accurate Measurements
Here are some tricks I’ve picked up over the years to make the process smoother:
- Measure Over Underwear or Tight Clothing: Bulky clothes add extra inches, which can mess up your pattern.
- Keep the Tape Level: If the tape dips or twists, your measurement won’t be accurate. Use a mirror or ask a friend to check.
- Don’t Pull Too Tight: The tape should be snug but not constricting. You want your clothes to fit comfortably, not like a corset.
- Measure at the Same Time of Day: Your body can fluctuate slightly throughout the day. I prefer measuring in the morning.
- Update Regularly: I re-measure every few months, especially if my weight or shape changes.
These tips alone will help you avoid a lot of trial and error.
Common Mistakes to Avoid
I’ve made plenty of measurement mistakes, so let me save you some trouble. One big one is measuring over loose clothing, as I mentioned earlier. Always wear tight fitting clothing to get the most accurate measurements possible.
Another is forgetting to write down the numbers; I’ve had to re-measure mid-project because I trusted my memory (spoiler: it failed). Also, avoid rounding your measurements up or down—use the exact number, even if it’s a fraction. Finally, avoid measuring while sitting or slouching; always stand naturally to get the right fit.
FAQ: How To Take Your Measurements
Do I need someone to help me take my measurements?
Not necessarily. A mirror helps you do it solo, but having a friend can make it easier for tricky spots like your back width.
How often should I take my measurements?
I re-measure every 3-6 months or if my body shape changes. It ensures my patterns stay accurate.
What if my measurements are between sizes on a pattern?
Go with the larger size and adjust the pattern as needed—it’s easier to take in than to let out.
Can I use a metal tape measure for body measurements?
No, they’re often too rigid. A soft, flexible tape measure is best for wrapping around your body.
Master Your Measurements for Better Pattern Cutting
Learning how to take your measurements is the first step to creating clothes that fit you perfectly. It’s a skill that gets easier with practice, and once you’ve got it down, you’ll feel so much more confident in your pattern cutting projects.
I still double-check my numbers before every new garment, and it’s made all the difference in my sewing journey. Grab your tape measure, follow these steps, and start drafting patterns that work for your unique shape.
